
You can upload files or media to your website in two ways.
Two important factors
- Always optimize the images yourself on your computer before uploading to max. 2mb in size.
- Always make sure the images are min. 2000px on the longest side for the most optimal quality on your website.
1. Uploading Media – In the Assets folders
When you want to upload many files/images at once
- Go to the back-end of your website
- Navigate to ‘Assets’ in the left-side menu. Here you see an overview of all folders & images uploaded to your library.
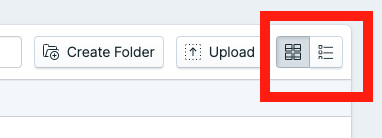
3. You can adjust the view of the Assets folder to the one that is more convenient to you by changing the setup here:
4. At the top, choose which part of Assets you would like to upload Files/Fonts/Icons/Images/etc
5. Choose an existing folder or create a new one
6.Once inside the folder, you can either drag the images in or upload them via a button:
2. Uploading Media – Directly in the Page Builder
When you want to change a picture or file in one specific page on the website.
- Navigate to the page and the desired element on the page.
- If there is already an existing image and you wish to replace, please first delete the uploaded one. Then press "Browse":
3. Here you can upload an existing image or upload new one. Please choose / create a folder where the image will be uploaded.
4. Select the file on your computer which you wish to upload.
Important! : Please do not move images around within the Assets library and folders as this will change their assigned URL and will remove them from them pages where you have uploaded them.